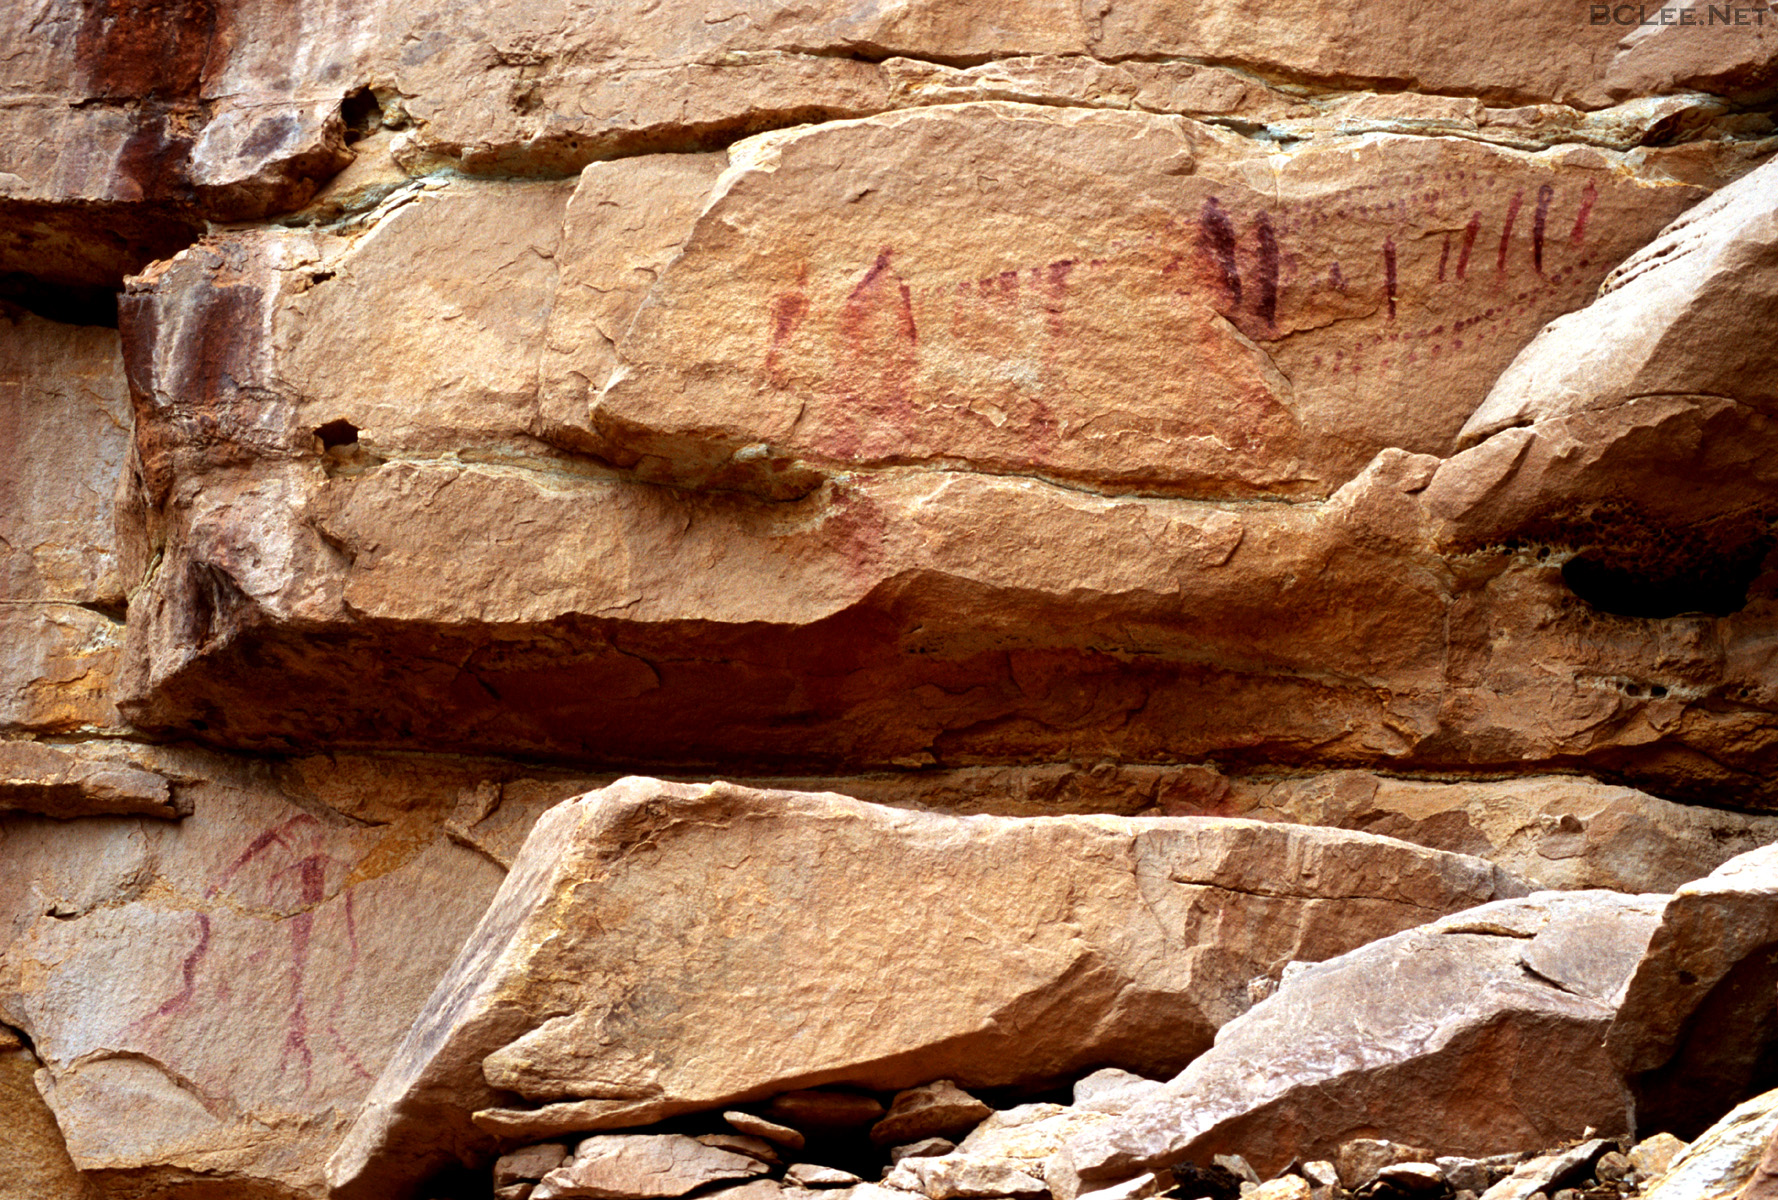
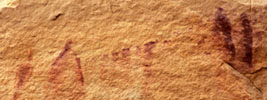
San Rafael Swell Site 3
This is actually quite far from the San Rafael Site 1 and 2 panels.
The style reminds me somewhat of
San Rafael Swell Site 4 (and
a few other sites I haven't visited which
sadly are no longer on the web), as well as
some of the
smaller figures I've seen in other panels, but overall it's pretty
different from the meter tall figures in many BCS panels.
Click on the image to get a higher resolution image.

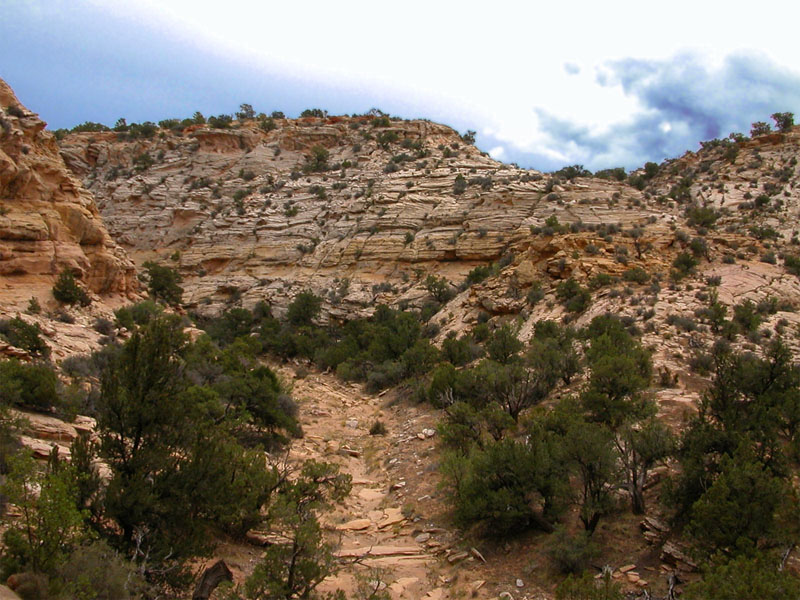
This panel is directly opposite of the easiest access out of the
(otherwise quite steep) upper end of the canyon that we could find,
which you could probably convince me has something to do with why it
is where is is. After three false starts into the canyon (each of
which led to a drop we were not sure we could get back up) we
actually saw the panel (with binoculars from the canyon rim) long
before we found a way down. I know of at least one other BCS panel
that appears to mark a canyon exit.
Click for an image of the canyon exit directly opposite the panel.

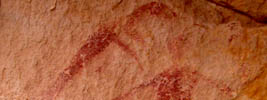
Closeup of the lower left panel
|
Closeup of the main panel
|
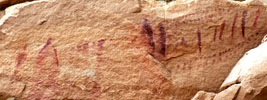
Closeup of the main panel left half
|
Closeup of the main panel right half

|
[home]

[back to rock art]
Why are you here? / What does it all mean? /
bclee@umich.edu